Posey's Tips & Tricks
How To Create Custom Shapes in Microsoft Visio
Microsoft Visio can be a handy tool for creating network diagrams, flow charts and other IT-related visualizations. For those who might not be familiar with Visio, it's a tool that allows you to create various types of diagrams by dragging and dropping shapes (which are like icons) onto a workspace.
Although Visio tends to work really well, it does not include every conceivable type of shape. There are few things more frustrating then being nearly finished with creating a complex diagram, only to discover that a shape you need does not exist. Fortunately, it is possible to create your own custom shapes in Visio.
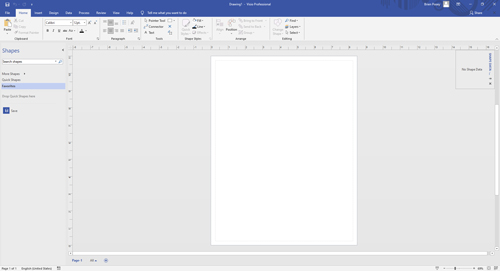
To get started, open Visio and start a blank drawing. Next, locate the Shapes section in the upper-left portion of the screen and then click the More Shapes link, shown in Figure 1.
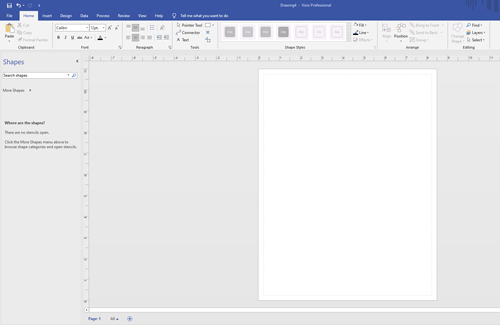 [Click on image for larger view.] Figure 1: Click on the More Shapes link.
When you click the More Shapes link, a menu will appear. Choose the My Shapes option, followed by Favorites. This will make the Favorites section available on the screen. Now, right-click on Favorites and choose the Edit Stencil command from the resulting shortcut menu. This will cause a red asterisk to appear next to Favorites, indicating that Favorites can be edited. You can see what this looks like in Figure 2.
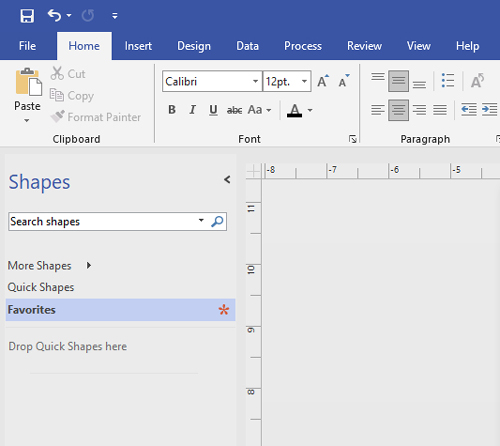 Figure 2: A red asterisk should appear next to Favorites.
Next, right-click on the Quick Drop Shapes link, shown in the figure above, and select the New Master command from the shortcut menu. This will cause Windows to display the New Master dialog box, which you can see in Figure 3.
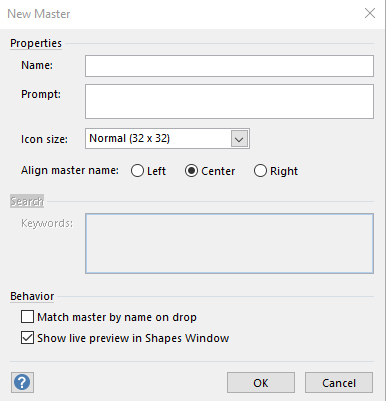 Figure 3: This is what the New Master dialog box looks like.
There are two things that you need to do within the New Master dialog box. First, you will need to enter a name for the shape that you are creating. For the sake of demonstration, I am going to create a new shape that looks like the Save icon. Therefore, I am going to enter the word "Save" into the Name field. Save will therefore become the name of the new shape.
The other thing you will need to do within the New Master dialog box is specify your shape's size by selecting it from the Icon Size drop-down menu. The default size is 32x32, but there are some larger sizes available. Once you have specified a shape name and size, go ahead and click OK. Your new shape will appear just beneath the Drop Quick Shapes Here section, as shown in Figure 4.
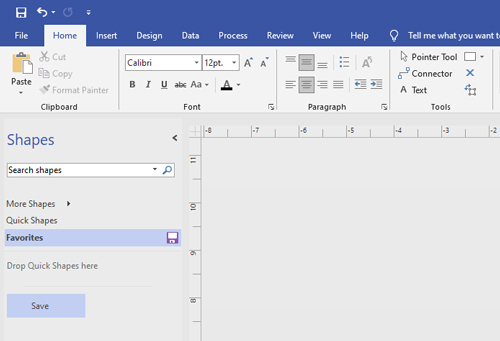 [Click on image for larger view.] Figure 4: The "Save" shape has been added to the Quick Drop section.
So far we have created a place holder for a new shape, but we haven't yet created the shape itself. As previously noted, the shape I am creating will eventually look like the Save icon. To map a graphical image to a shape, right-click on the shape and choose the Edit Master | Edit Icon Image commands from the shortcut menus. When you do, you will be taken to a screen that provides you with drawing tools you can use to create the icon for your shape. You can see what this looks like in Figure 5.
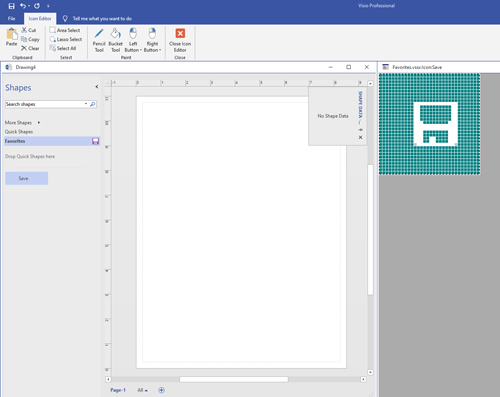 [Click on image for larger view.] Figure 5: You can use the drawing tools on this screen to create your shape's icon.
As you look at the figure above, you will no doubt notice that I have created a Save icon. The good news, however, is that you don't necessarily have to create your icons from scratch. If you have a screen capture tool available, you can create icons by using cut and paste. There is a third-party tool called Foundstone Capture that works really well for this purpose.
When you finish creating your icon, use the Area Select option on the toolbar to select your icon. Next, click on Copy and then click the Close Icon Editor button.
Now, right-click on the shape that you are creating and choose the Edit Master | Edit Master Shape options from the shortcut menu. Paste your icon into the master and then close it. When prompted, indicate that you want to save the icon. Finally, right-click on Favorites and close the Save option from the Shortcut menu.
Now when you open Visio and go to your Favorites, you should see your newly created shape, as shown in Figure 6.
 [Click on image for larger view.] Figure 6: The new shape has been added to the favorites and is ready to use.
About the Author
Brien Posey is a 22-time Microsoft MVP with decades of IT experience. As a freelance writer, Posey has written thousands of articles and contributed to several dozen books on a wide variety of IT topics. Prior to going freelance, Posey was a CIO for a national chain of hospitals and health care facilities. He has also served as a network administrator for some of the country's largest insurance companies and for the Department of Defense at Fort Knox. In addition to his continued work in IT, Posey has spent the last several years actively training as a commercial scientist-astronaut candidate in preparation to fly on a mission to study polar mesospheric clouds from space. You can follow his spaceflight training on his Web site.