Posey's Tips & Tricks
How To Use Inking in Windows 11
No longer is the Microsoft feature gated behind hardware.
Windows 10 has long included native support for inking. Not surprisingly, inking support is also available in Windows 11. However, Microsoft has introduced some new configuration options for inking. As such, I wanted to take the opportunity to talk about how inking works and show you the new configuration options that exist.
Before I get started, there are two things that I want to quickly point out for the benefit of anyone who might be new to inking. First, inking is not based solely on the Surface Pen. When Microsoft released the first-generation Surface hardware many years ago, you pretty much had to have a Surface tablet and a Surface Pen if you wanted to use the ink feature. Today, the Surface is not the only game in town. In fact, I use inking with my Dell Canvas far more often than with my Surface Book 3.
Interestingly though, you don’t even have to have a device that supports pen input. If you have a touch screen device, then you can write with your finger. If you don’t have a touch screen device, you can use your mouse in place of a digital pen. It’s definitely not the most efficient way to use inking, but it’s a way that you can try it out without needing any specialized hardware.
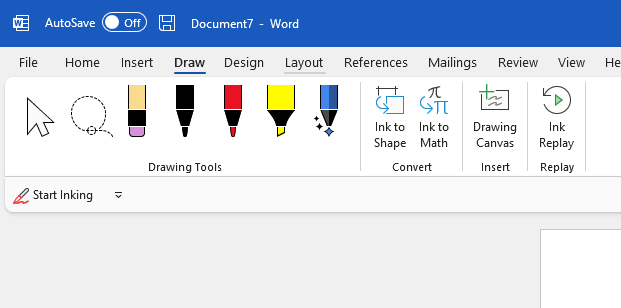
The other thing that you need to know about inking is that inking can be used with any application that supports text input. Some applications natively support inking, but others don’t. For applications that don't natively support inking, you'll need to use the touch keyboard (more on that later). If an application does natively support inking, you are going to have a far better experience using the application’s inking feature than using the touch keyboard. Microsoft Word for example, has built in inking capabilities, as shown in Figure 1.
 [Click on image for larger view.]
Figure 1. Microsoft Word includes native support for ink.
[Click on image for larger view.]
Figure 1. Microsoft Word includes native support for ink.
So with that said, let’s take a look at how inking works in Windows 11. In order to use inking (without an application that supports it natively), you'll need to enable the touch keyboard. In order to do so, click the Start button and then go to Settings. When the Settings app opens, select the Personalization tab and then click on the Taskbar option, shown in Figure 2. When the Taskbar Settings page opens, enable the touch keyboard, as shown in Figure 3. When you do, you'll see a keyboard icon appear in the taskbar as it does in Figure 3.
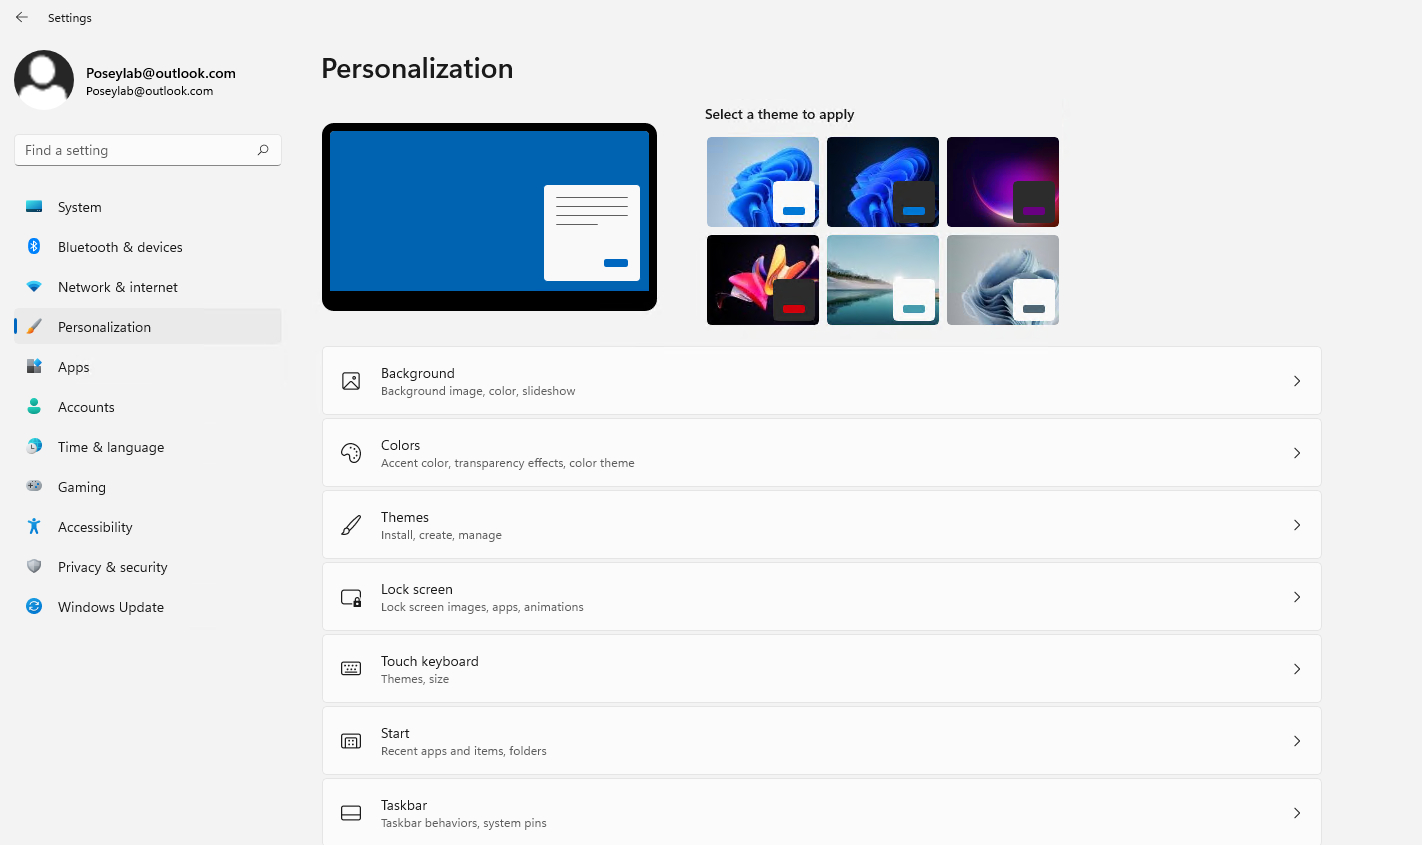 [Click on image for larger view.] Figure 2. Select the Personalization tab and then click on the Taskbar option.
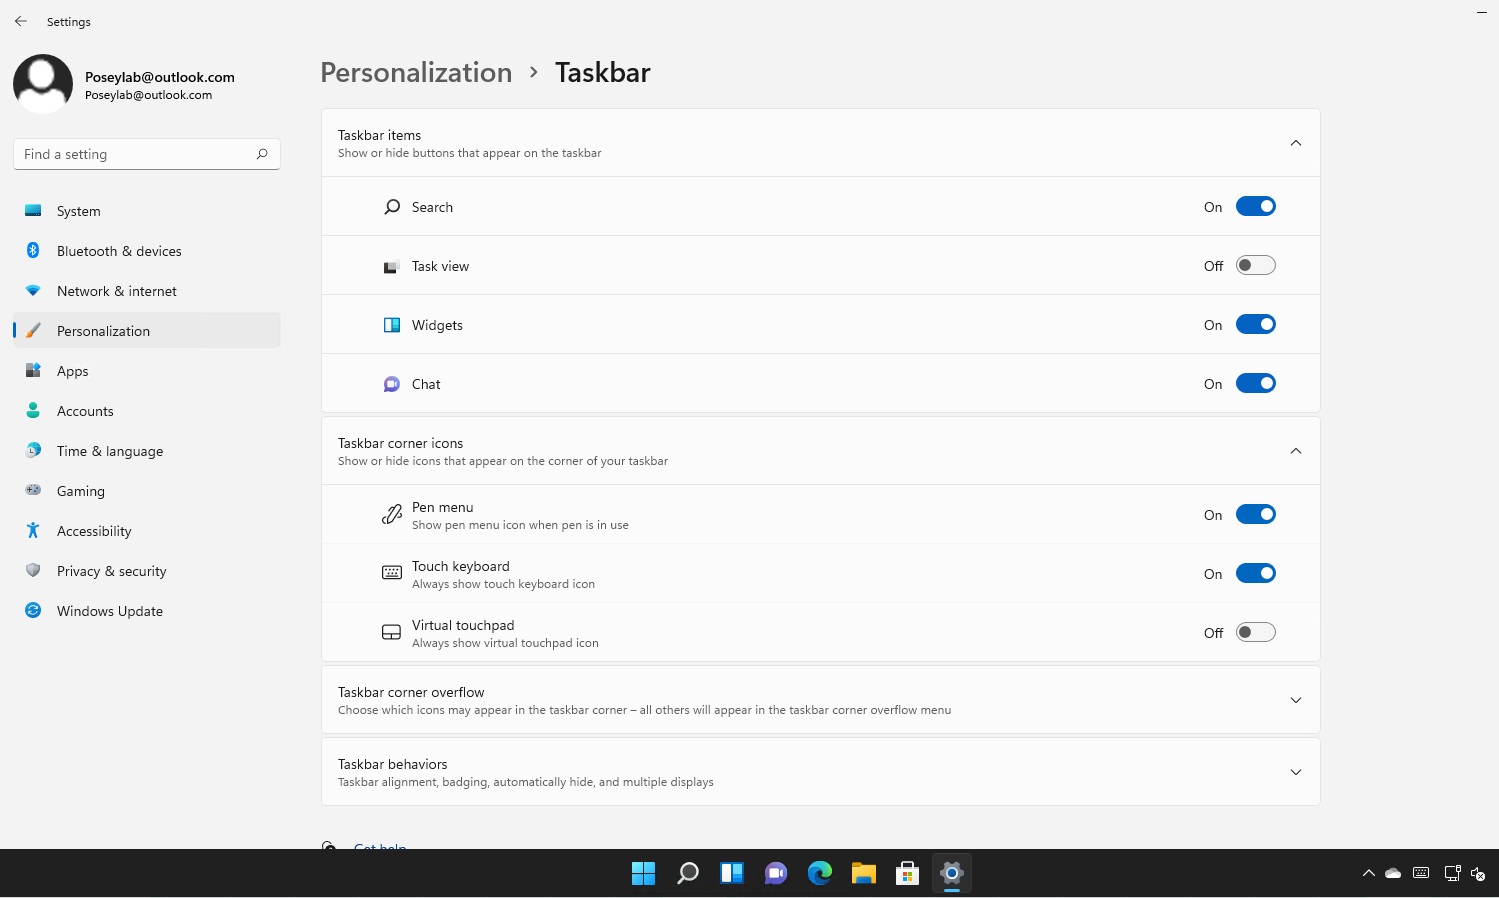 [Click on image for larger view.] Figure 3. You'll need to turn on the touch keyboard.
Now that you have enabled the touch keyboard, click on the keyboard icon to launch it. Initially, the touch keyboard is just that -- an onscreen keyboard for use on touch screen devices. If you look closely, you'll notice that there is a small gear icon in the upper left corner of the keyboard. Click this icon and select the Handwriting option, as shown in Figure 4. Upon doing so, Windows will display an inking interface that you can use to enter handwritten text. Anything that you write will be converted into typed text and inserted into whatever application is currently active.
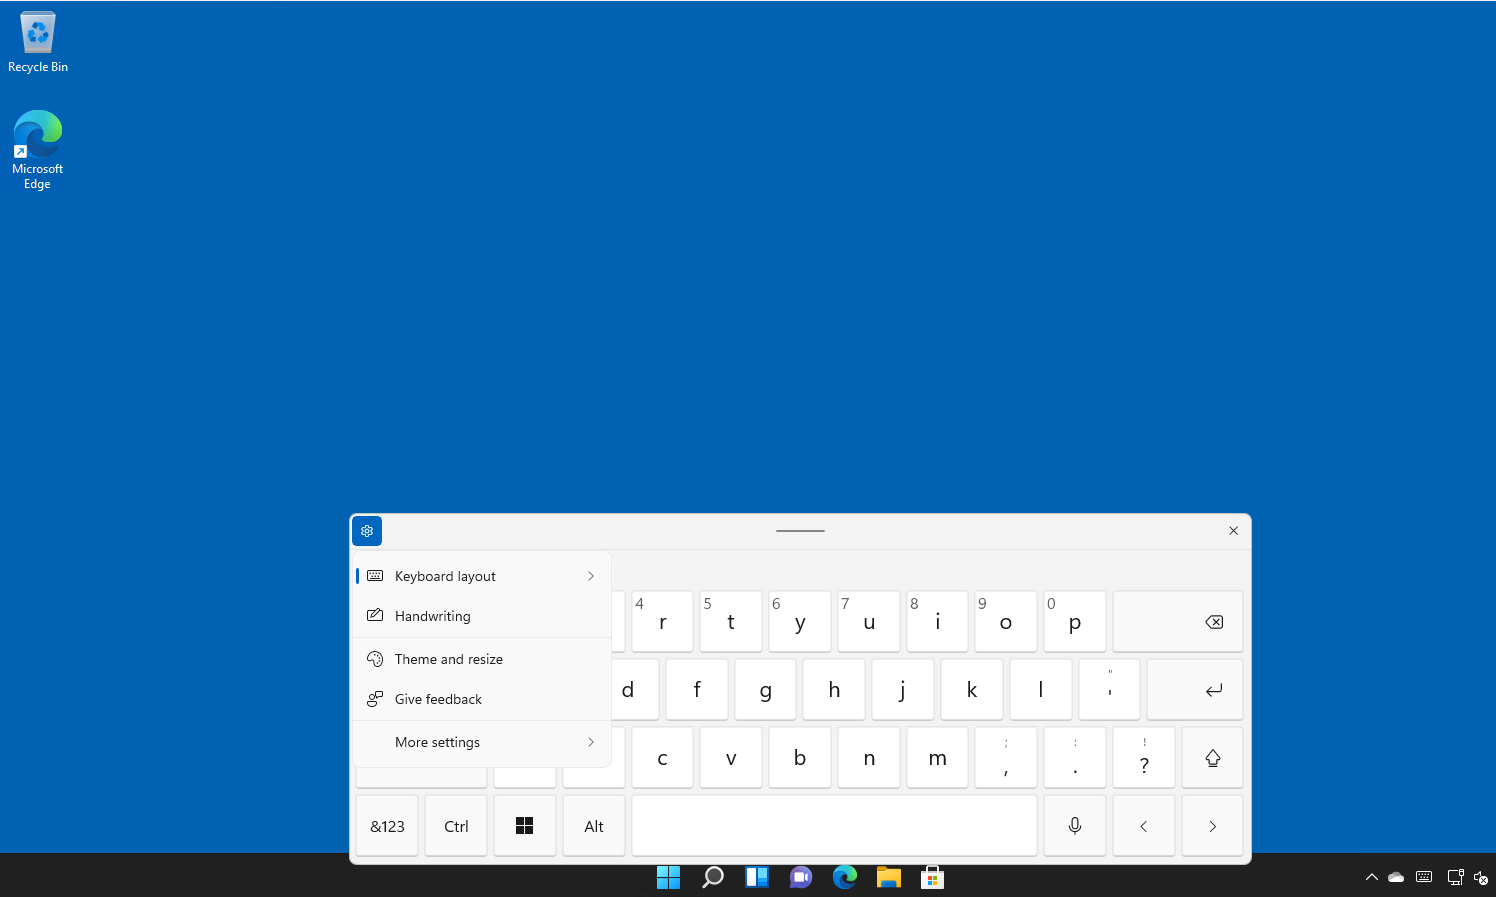 [Click on image for larger view.] Figure 4. Click on the gear icon and select the Handwriting option.
As previously noted, there are some settings that you can use to fine tune the inking feature. You can access these settings by going back to Settings, and selecting the Bluetooth and Devices tab. Next, click on the Pen and Windows Ink option. When the Pen and Windows Ink screen appears, expand the section labeled Use Your Handwriting to Enter Text. This section contains two options.
The first option allows you to choose a font. A font called Ink Free is used by default. The Ink Free font is meant to have a handwritten look. If you prefer however, you can choose the Segoe UI font instead. Both options are shown in Figure 5.
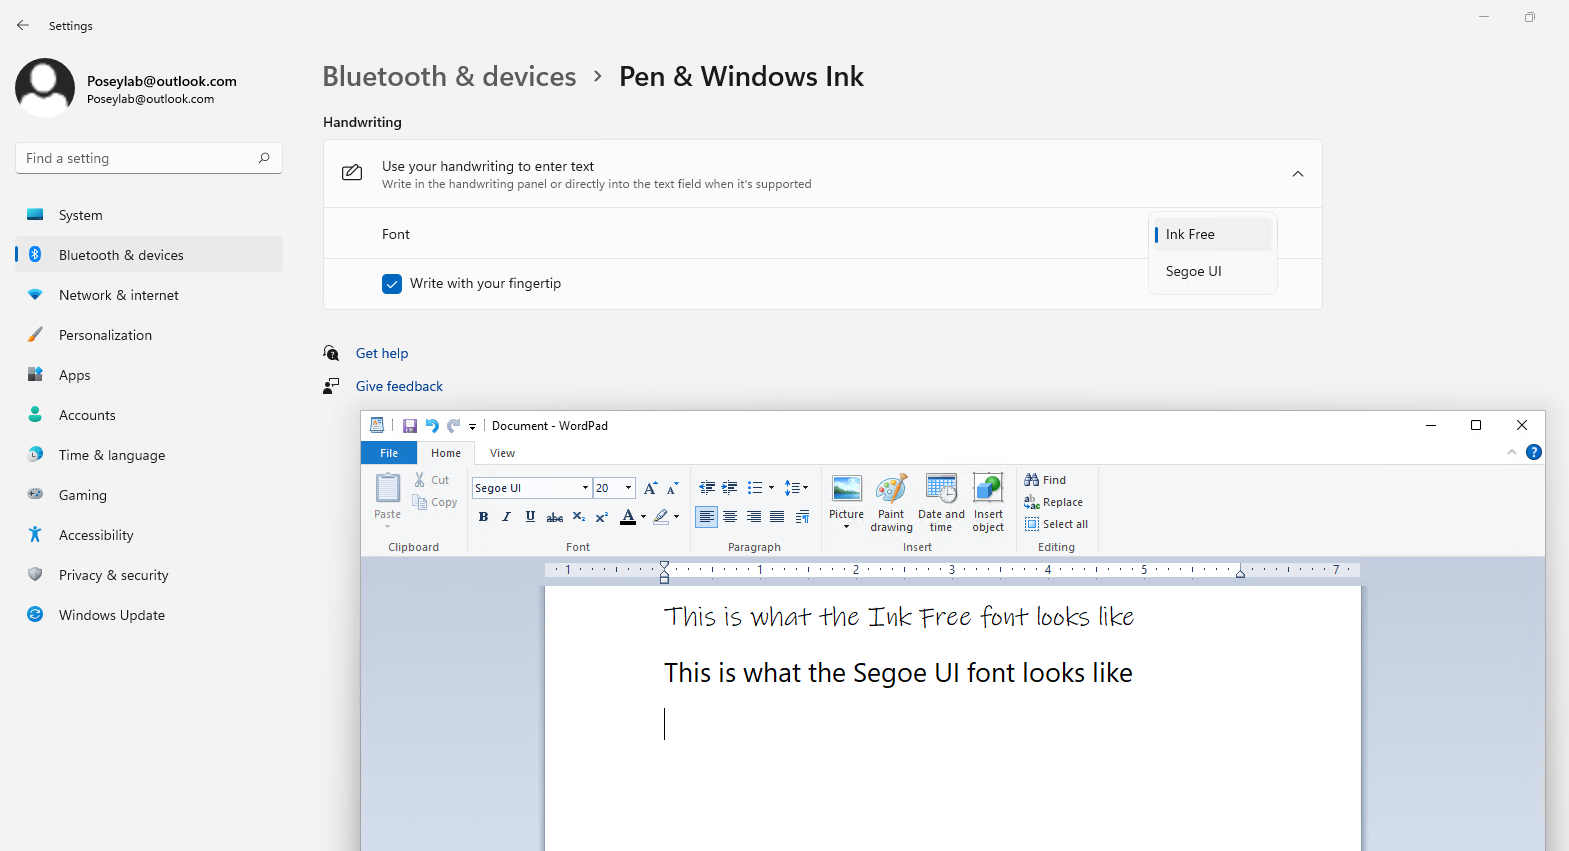 [Click on image for larger view.] Figure 5. Windows 11 gives you two different inking fonts.
The other option is a simple checkbox to tell Windows that you want to be able to write with your finger. This option is probably useful if you have a touch-screen device and occasionally need to sign documents. But it isn’t the sort of thing that you would want to use for writing anything lengthy.
About the Author
Brien Posey is a 22-time Microsoft MVP with decades of IT experience. As a freelance writer, Posey has written thousands of articles and contributed to several dozen books on a wide variety of IT topics. Prior to going freelance, Posey was a CIO for a national chain of hospitals and health care facilities. He has also served as a network administrator for some of the country's largest insurance companies and for the Department of Defense at Fort Knox. In addition to his continued work in IT, Posey has spent the last several years actively training as a commercial scientist-astronaut candidate in preparation to fly on a mission to study polar mesospheric clouds from space. You can follow his spaceflight training on his Web site.